SwiftUI Transition
In SwiftUI, a transition defines how a view enters or exits the screen during animations. It enables smooth animations when adding or removing views in your app. For example:
1
2
3
4
5
6
7
8
9
10
11
12
13
14
15
16
17
18
19
20
21
22
23
24
25
26
27
28
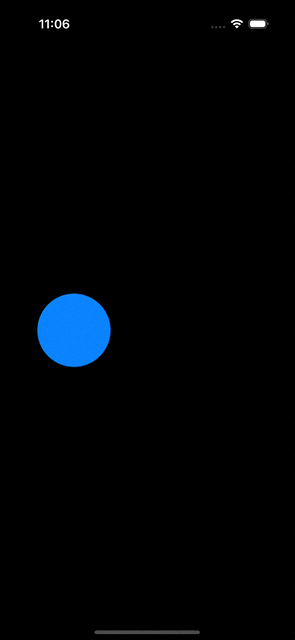
struct MyView: View {
@State private var condition: Bool = true
var body: some View {
Group {
if condition {
blueCircle
.offset(x: -100)
} else {
blueCircle
.offset(x: 100)
}
}
.onTapGesture {
withAnimation {
condition.toggle()
}
}
}
private var blueCircle: some View {
Circle()
.fill(Color.blue)
.frame(width: 100, height: 100)
}
}
Since the two blue circles have different structural identities, SwiftUI treats them as distinct views and does not apply geometry-based animations when condition changes. By default, SwiftUI uses an opacity transition, fading views in and out—from transparent to opaque during insertion, and vice versa during removal.
Specifying Transitions
Transitions are applied to views using the .transition() modifier and can be combined for dynamic behavior.
1
2
3
4
5
MyView()
    .transition(.slide)

MyView()
    .transition(.move(edge: .leading).combined(with: .opacity))
You can even specify different transitions for appearing and disappearing states.
1
2
MyView()
    .transition(.asymmetric(insertion: .slide, removal: .opacity))
Creating Custom Transitions
SwiftUI provides two ways to define custom transitions: by conforming to the Transition protocol or by using view modifiers.
Using the Transition Protocol
Custom transitions can be created by applying modifiers to the view’s content. For symmetric transitions, the isIdentity property of the transition phase determines the modifier’s behavior. For asymmetric transitions, the phase itself can be used to configure the properties.

1
2
3
4
5
6
7
8
9
10
11
12
13
14
15
16
17
18
19
20
21
22
23
24
25
26
27
28
struct MyTransition: Transition {

    func body(content: Content, phase: TransitionPhase) -> some View {
        content
            .opacity(phase.isIdentity ? 1.0 : 0.0)
            .rotationEffect(phase.rotation)
    }
}

fileprivate extension TransitionPhase {

    var rotation: Angle {
        switch self {
            case .willAppear:
                .degrees(180)
            case .identity:
                .zero
            case .didDisappear:
                .degrees(-180)
        }
    }
}
Here, isIdentity indicates whether the view is currently being rendered.
Using View Modifiers

1
2
3
4
5
6
7
8
9
10
11
12
13
14
15
16
17
18
19
20
21
22
23
24
25
26
27
28
struct MyViewModifier: ViewModifier {

    let isIdentity: Bool

    @State private var idealSize: CGSize = .zero

    func body(content: Content) -> some View {
        content
            .rotationEffect(.degrees(isIdentity ? 0 : 180))
            .opacity(isIdentity ? 1 : 0)
    }
}

extension AnyTransition {

    static let myTransition: AnyTransition = .modifier(
        active: MyViewModifier(isIdentity: false),
        identity: MyViewModifier(isIdentity: true)
    )
}
Caveats
- Avoid using identity-affecting changes like
.id,if, orswitchon the content of a view with a transition. These changes reset the state of the view, leading to potentially unexpected behavior when the view appears or disappears. - Transitions only work on conditional views (e.g., views that are added or removed based on a condition). If the view is still part of the view hierarchy (e.g., just hidden with
.opacity(0)), the transition will not work. - Always wrap state changes in
withAnimationwhen triggering a transition. Without it, the view will be added or removed without animating the transition, resulting in abrupt changes.